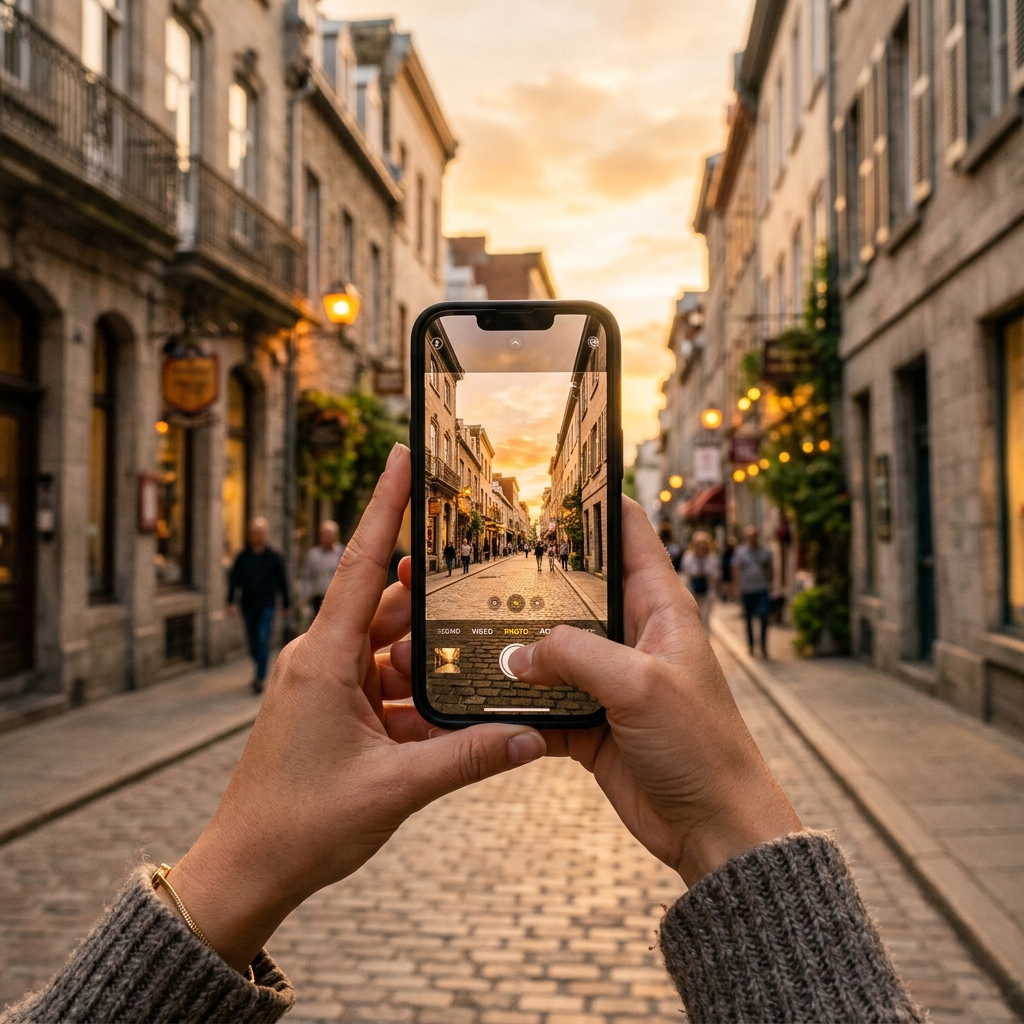
The best camera is the one you have with you. This has been a photography cliche for twenty years, but in 2026 it is also literally true. The phone in your pocket has more computational photography power than a professional DSLR from a decade ago. It shoots in RAW, handles low light respectably, and fits in a pocket that a full camera setup never will.
The problem is not hardware. The problem is that most people use a $1,000 phone camera like a $10 disposable — pointing at subjects without thinking about light, composition, or timing, and producing photos that look flat, cluttered, and forgettable.
This guide covers the fundamentals that turn phone snapshots into travel photos worth printing. None of it requires gear beyond what you already carry. The packing stack that holds the phone, a cloth, and a small bank is the carry-on packing list; golden-hour pacing sits next to how to plan a slow travel trip.
Desk listing check: the three Amazon links below are search URLs. Confirm the current listing is a phone tripod, a cloth, or a power bank — marketplace titles reuse “GorillaPod” and “Anker” on the wrong SKU. This desk does not run a test fleet.
Light Is Everything
Photography is literally the recording of light. The quality of light in your photo matters more than your subject, your composition, or your camera. Understanding this single concept will improve your travel photos more than any tip, trick, or filter.
Golden Hour
The hour after sunrise and the hour before sunset produce warm, directional light that adds depth, color, and drama to everything it touches. Skin looks warm. Buildings glow. Landscapes have long shadows that create dimension.
This is not a secret — every photographer knows about golden hour. The advantage for travelers is that most tourists are eating dinner during evening golden hour and sleeping through morning golden hour. The same landmark that is crowded and flat-lit at noon is empty and gorgeous at 6:30am.
Practical application: identify your must-photograph subjects and plan to visit them during golden hour. Shoot everything else during the middle of the day.
Overcast Days Are Not Bad Days
Cloudy skies act as a giant diffuser, spreading light evenly across your subject. This is excellent for:
- Markets and street scenes — even lighting means no harsh shadows on faces
- Architecture — details are visible without blown-out highlights
- Forests and gardens — greens look richer without sun-dappled contrast
- Portraits — soft, flattering light without squinting
The only thing overcast light is bad for is sweeping landscapes that need blue sky and clouds for drama. For everything else, embrace the grey.
Avoid Direct Midday Sun
Between 11am and 2pm, the sun is directly overhead, creating harsh shadows under eyes, noses, and architectural overhangs. Colors look washed out. Contrast is extreme — bright areas are too bright and dark areas are too dark for your phone’s sensor to handle both simultaneously.
If you must shoot at midday, look for open shade — areas where a building, tree, or awning blocks direct sun but ambient light provides even illumination. Covered markets, interior courtyards, and narrow European streets are natural midday photography environments.
Composition: Where You Put Things in the Frame
The Rule of Thirds
Enable the grid overlay on your phone camera (Settings > Camera > Grid on both iPhone and Android). This divides your screen into a 3x3 grid. Place your main subject at one of the four intersections where grid lines cross, not in the center.
Centering a subject produces static, snapshot-style images. Placing it off-center creates visual tension and allows the viewer’s eye to travel through the frame. This single adjustment transforms the feel of your photos.
Include Foreground, Middle Ground, and Background
A flat photo has one layer — the subject. A compelling photo has depth — something in the foreground (flowers, a railing, a table), the subject in the middle ground, and context in the background (sky, mountains, cityscape).
On a phone, you can create this layering by getting low. Crouch or kneel to include the ground surface, cobblestones, or a row of flowers in the bottom third of the frame while shooting toward your subject with the background behind it.
Find Frames Within Frames
Archways, doorways, windows, tree branches, and building openings create natural frames around your subject. A shot of a cathedral is a snapshot. A shot of the same cathedral framed through a stone archway with warm light is a photograph.
Walk around before shooting. Most landmarks and scenes have natural framing options within 50 meters that most visitors walk past without noticing.
Simplify
The most common amateur photography mistake is including too much in the frame. A photo with a building, three people, a car, a tree, a signpost, and a pigeon has no subject — it is a visual inventory of a street corner.
Ask yourself: what is this photo of? Then remove everything else. Move closer. Zoom in. Change your angle until the subject is clear and the background is uncluttered. A photo of one market vendor’s hands shaping pastry tells a better story than a wide shot of the entire market.
Phone-Specific Techniques
Use the Ultrawide Lens for Architecture
Most modern phones have an ultrawide lens (0.5x on iPhone, similar on Samsung and Pixel). This is transformative for architecture and interiors — cathedral ceilings, narrow streets, sweeping landscapes, and any scene where you cannot physically move back far enough to capture the scale.
The ultrawide lens distorts edges slightly, which adds drama to tall buildings shot from below and to narrow lanes shot from one end. Lean into this distortion rather than fighting it.
Use Portrait Mode for People (With Caution)
Portrait mode uses computational photography to blur the background, mimicking the depth-of-field effect of a large-sensor camera. It works well for:
- Solo subjects against a busy background
- Food photography where you want the dish sharp and the restaurant blurred
- Market vendor portraits
It struggles with: fine hair edges, complex backgrounds, subjects that are not clearly separated from their surroundings. If the blur looks unnatural, switch to the standard lens and get closer to your subject instead.
Lock Focus and Exposure
Tap and hold on your subject to lock focus and exposure. This prevents your phone from refocusing or readjusting brightness as you recompose the shot. On iPhone, a small sun icon appears — slide it up or down to adjust exposure manually.
This is essential for backlit scenes (subject against a bright sky) where the phone’s automatic exposure blows out the sky or silhouettes the subject. Lock exposure on your subject to keep them properly lit.
Shoot in Burst Mode for Action
Hold the shutter button (or volume button) to fire a burst of photos when shooting markets, street scenes, or any situation with movement. Review the burst afterward and select the frame where expressions, gestures, and movement look most natural.
One sharp frame from a burst of twenty is better than one carefully timed shot that catches someone mid-blink.
Editing: Where Good Photos Become Great
The Two Free Apps That Do Everything
Snapseed (free, Google) — The best free photo editor. Selective editing lets you brighten a specific area, boost color in one section, or sharpen only the subject. The “HDR Scape” and “Drama” filters, used at 20 to 30 percent strength, add depth without looking over-processed.
Lightroom Mobile (free with optional subscription) — Professional-level editing with presets you can apply across multiple photos for a consistent look. The best option for batch editing a day’s worth of photos to have a cohesive style.
Both apps are available on iOS and Android and handle RAW files if your phone supports RAW shooting.
The Five Edits That Matter
For most travel photos, these five adjustments in order produce the best results:
- Straighten the horizon. A tilted horizon makes any photo look careless. Straighten it first.
- Crop to improve composition. Remove distracting elements from edges. Tighten the frame around your subject.
- Adjust exposure. Brighten underexposed images or bring down over-bright skies. Get the overall brightness right.
- Add contrast. A slight contrast boost (10 to 20 percent) adds punch and depth. Too much looks crunchy and artificial.
- Warm the white balance slightly. Most phone photos skew slightly cool. Adding warmth makes skin tones, stone, and golden hour light look more natural.
Stop there. Every edit beyond these five risks over-processing. If you need more than five adjustments to make a photo work, the photo was not good enough to begin with.
Accessories That Improve Phone Photography
You do not need much. Buy for a job, not for a kit photo:
- Phone tripod with flexible legs — Buying note: Buy a flexible-leg phone mount if you actually shoot night streets or a self-timer. Skip it if you only snapshot at noon. Typical street price under $30. Confirm it is a phone tripod, not a camera-only GorillaPod without a clamp.
- Lens cleaning cloth — Buying note: A pocket cloth is the cheapest sharpness upgrade. Typical street price under $5. Confirm microfiber, not a generic wipe pack.
- Portable phone charger — Buying note: 10,000mAh is enough for a photo-heavy city day; 20,000mAh is the transit-day size on the packing list. Cabin only. Confirm capacity on the current listing.
Common Mistakes and How to Fix Them
Using digital zoom. Digital zoom crops the image and degrades quality. Walk closer instead. If you cannot get closer, take the wider shot and crop in editing — the result is identical to digital zoom but you retain the option to keep the wider composition.
Shooting everything at eye level. Most tourists photograph from standing height. Get low for architecture, get high for markets and crowds, and look for elevated vantage points (balconies, bridges, hillsides) for cityscapes and landscapes. Changing your height by two feet changes the entire character of the photo.
Taking one shot and moving on. Professional photographers take 50 shots of a subject and keep three. Take multiple frames from different angles, distances, and heights. Review them later and keep the best one. Storage is free.
Over-editing. If your photo looks like it was shot through a filter, you have gone too far. Natural-looking edits that enhance what was already there are always better than heavy processing that creates something artificial.
Ignoring the background. A beautiful subject in front of a trash can, a construction fence, or a line of parked cars loses its impact. Before pressing the shutter, check the entire frame — especially the edges and background. Shift two steps left or right to clean up the background.
Building a Travel Photography Habit
The best travel photographers are not the ones with the best gear. They are the ones who see light, notice composition, and shoot consistently throughout their trip.
Carry your phone in a pocket you can reach quickly. Shoot during golden hour every day you travel. Edit your best five photos each evening before bed. By the end of a two-week trip, you will have 70 curated photos that tell the story of your experience — not 500 unedited snapshots that sit in your camera roll forever.
Your phone is enough. The light is free. The only thing standing between you and good travel photography is the willingness to slow down, look at what is in front of you, and press the shutter with intention.
Affiliate hardware links use the Amazon Associates tag artoftravel06-20. See how we make money and the editorial policy.